Showing posts with label QA plates. Show all posts

Tuesday, November 5, 2013

Before & After: Freehand fall leaves

Hello!

Okay, so. I showed you a fall leaf manicure as my last nail art. Today I'm going to show you another fall leaf manicure 'cause I'm in the mood for it and it's my blog so I can cry if I want to! Wait, that's not right...

Anyway...For this one, I started with Picture Polish Mallard, one of those awesome ugly-pretty polishes; it's a deep, almost-black green with a gorgeous forest green shimmer and a rainbow of fall-leaf colored flakies:


Picture Polish Mallard, 2 coats, artificial light

Those flakies make me think of fall leaves, so I figured I'd add some more on top of the. I stamped on a tree branch with Barry M Gold Foil and QA21. After that, I freehanded some leaves on to it, with moderate success:


I like it, but it isn't quite what I was hoping for. Maybe it's one of those you're-your-own-worst-critic things...Point is, I'm not sure why I'm in a fall leaf sort of mood lately, but it might be a good thing, 'cause I clearly need practice freehanding them...

Thanks for stopping by. :) Hugs and loves,
M.

Thursday, February 14, 2013

Review: Stamping plate QA39 from Born Pretty Store

Hello!

Today I have a review of stamping plate QA39, from Born Pretty Store. I think a lot of people don't realize that Born Pretty Store sells stamping plates and supplies, and think of them more for other sorts of nail art, so I'm glad to show this side of what they sell. :)

First, here is the plate itself:

QA39

Originally when I saw the plate, I wanted to do a manicure with the statue of liberty, and I still do. But when it turned out that the timing of the review was going to be right with Valentine's Day, I knew I had to do the hearts and kisses stuff instead. Plus, since I put together two anti-Valentine-establishment manicures, I figured it would be nice to do a positive one, too. :)

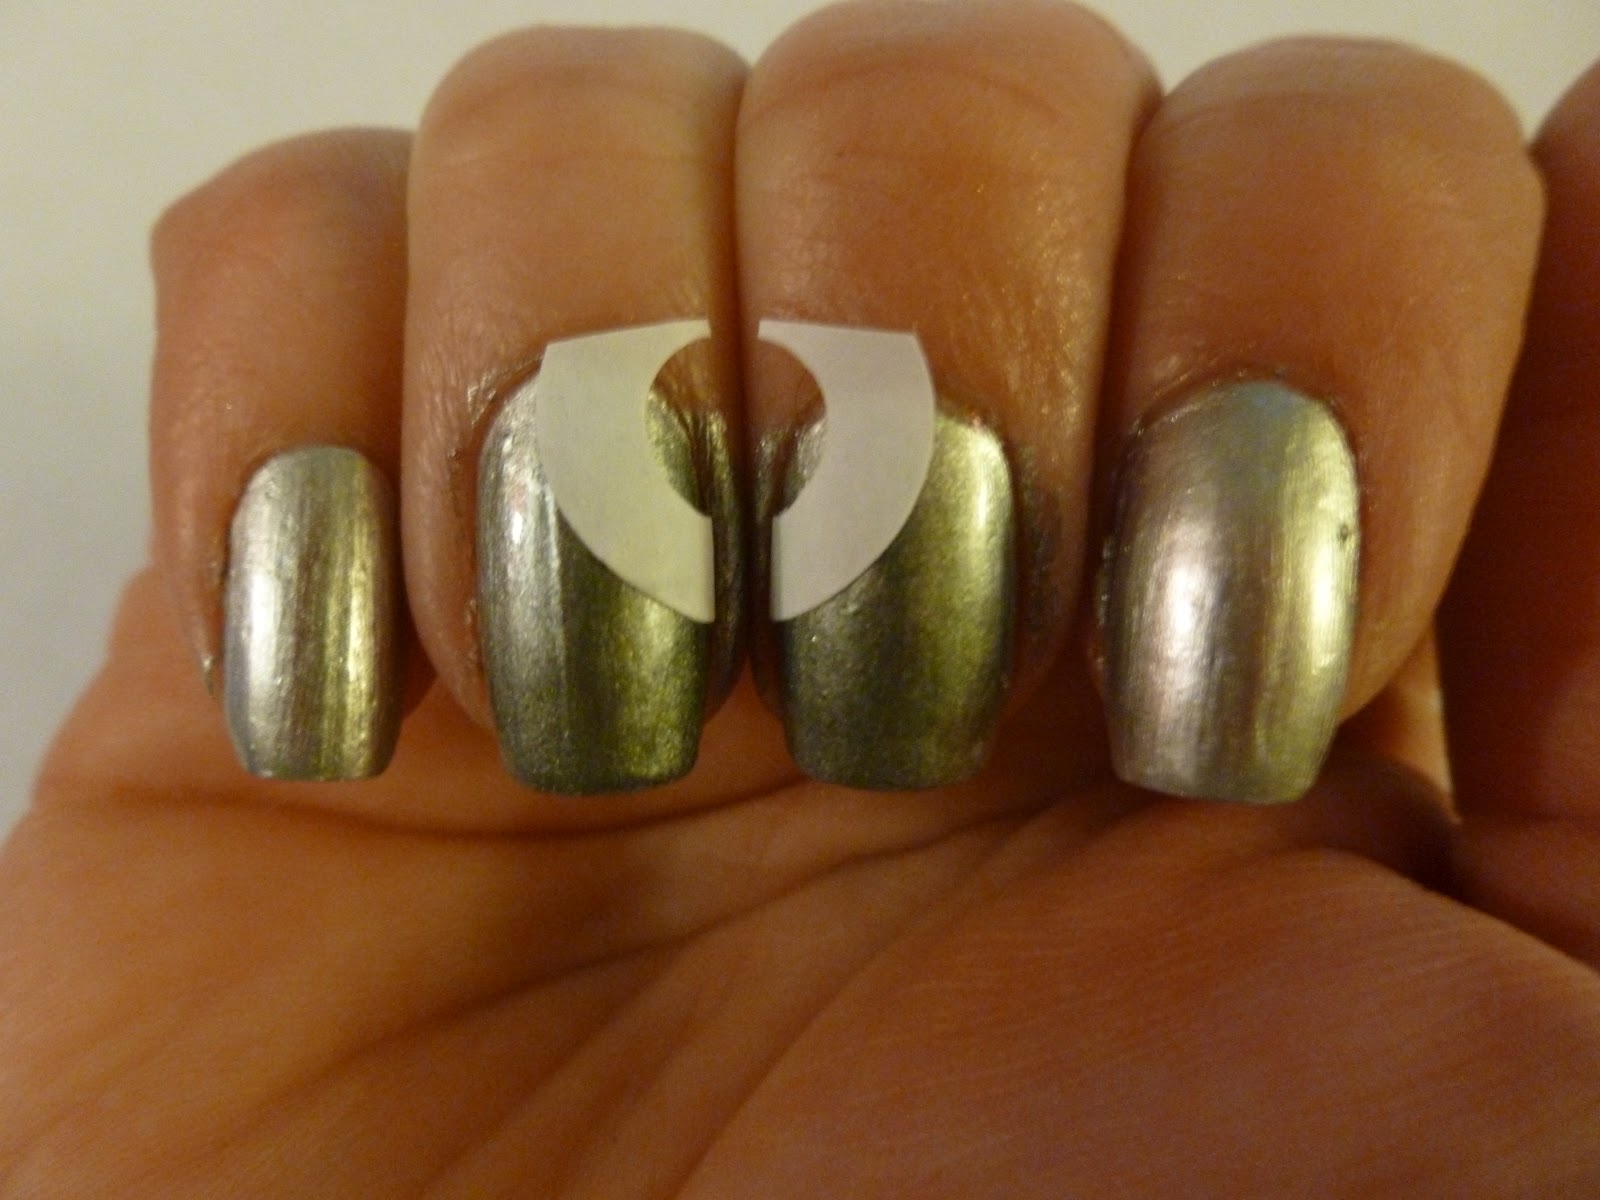
I started with a pink base (I'll show the polishes to you on their own later this week), and then put down a background with the Louis Vuitton image and a darker pink, so that I could test out an image with smaller detailing on it. Then I stamped the 'Kiss' and heart images over that with Konad white polish. Here's how it turned out:


Happy Valentine's Day!

The plate worked beautifully; all of the images stamped well, except where my own imperfections were at fault. On a couple of nails my stamp didn't reach quite to the end, and I have one heart that blurred a bit. But if you look at the close up of my index finger, you can see how well the images stamped:

Up close and personal. :)

Please pay no attention to the teeny glitter I couldn't get off from my last manicure, lol! Far away shots are so much better...sigh...:P

I know what you're thinking--OMG, Michelle, this is a PINK manicure, with TWO colors of pink, and it has HEARTS!! Is everything okay? Are you undergoing some sort of crisis?? Hey, what can I say...even an anti-pink, anti-hearts girl like me has a soft spot for Valentine's stuff that shows through now and then. :)

You can find this plate on Born Pretty Store's site by clicking here. And don't forget to use my coupon code to get 10% off of this and/or anything else you order from the entire Born Pretty Store site


Thanks for taking a look, and I hope your Valentine's Day was filled only with wonderful things, surrounded by people you love. :)

Xoxox,
M.

(The stamping plate shown in this review was sent for my honest review.)

Friday, October 19, 2012

NOTD: Vampire bats bite

Hello!!

Today's prompt in the 'This Is Halloween' Challenge is: Bats!

I've had several bat images that I've been waiting to use since I started stamping back in April, so I was excited for this theme. But what I'm most excited about, what I've been absolutely dying to use, is a bat/vampire bite image from Bundle Monster. So, I designed my manicure around that image...the story behind it is that the vampire has flown into the room in bat form, and bitten his victim, and now is flying away with the rest of his bat companions, leaving behind his victim and her blood:


That's gonna leave a mark...
To put it together, I stared with a nude polish on the accent finger, Sally Hansen Beige Blast; this was a little too beige, so I added a coat of LA Colors Mega Watt as a topper. On the other fingers, I used Pure Ice Siren. On the accent finger, I also used Siren to stamp the vampire bat bite using BM301. On the rest, I stamped the flights of bats with Konad black and plate QA26

So what do you think? Is it...BAT-tastic?

(I apologize. That was just wrong.)

Thanks for looking! Please check out the other bat manicures in the challenge, linked below. :)

Xoxox,
M.

Thursday, October 11, 2012

NOTD: Witches!

Hello!!

I have to start off today by apologizing for my pictures. I was having camera issues, and of course that had to happen the first time I'm trying to do a step-by-step tutorial for you. For the final look, I finally had to take a picture with my cell phone, and you can see I have some tipwear on it from waiting so long. However, at least the problem should be fixed now.

On to the manicure! Today's mani is another one from my Halloween challenges--this one is my CNT challenge, and today's prompt is Witches! I've been wanting to do this look for a long time; here's what I did:


Sexy witches haggy witches, which witch am I?

The final creation picture there is not as impressive as I hoped it would be, due to tip wear and a bad picture. However, you get the idea, and I thought I'd show you how I did it:

Step one: 
First I painted my nails with Barry M Silver Foil. Then I blended some Barry M Silver Foil with some Sally Hansen Gone Grey, and then I did a gradient over the two middle fingers with that mixture.

Step two: 
When that was completely dry, I took a hole reinforcer, and cut it in half. I took the two halves and matched them up on the two middle fingers, as shown below:


Step 3:
I then did a purple/orange gradient over the exposed part of the nails (being careful to avoid the hole in the center of the hole reinforcers!) using Barry M Vivid Purple and Sally Hansen Orange Impulse. Then I removed the hole reinforcers, and had this:


Grrr...horrible blurry photo!

Step 3:
On top of this I stamped clouds using Mash plate Mash38 (I only used part of the plate) and Sally Hansen Gone Grey:


Clouds stamped on top of gradients


You can see the part of the image I used where you see the polish streak. :)

Step 4: 
Finally, using Konad stamps, I stamped the other elements on the design, including spooky 'trees' (see below) and a haunted house from Bundle Monster BM224; A witch from Shany plate SH02; another witch from Bundle Monster plate BM13; and the bats and haunted house from QA 26.

I used the vines from the pumpkin image for spooky shrubbery :)

And voila! Here is the final look again:


Thanks for taking a look and putting up with the sub-par pictures! Please check out the other witch manicures linked below. :)

Xoxox,
M.


Tuesday, July 31, 2012

NOTD: Olympic Medals

Hello!

Today's challenge in PFC's Summer Challenge is 'Olympic Medals'. I missed the Olympic Rings theme, so I wanted to make sure I did this one, and I'm coming in just under the wire. :)

Here's what I did:


It's probably fairly self-explanatory, but what I did was try to make my index finger look like the ribbon that the medals hand on, then the middle finger was the gold medal (in boxing), the ring finger the silver medal (in gymnastics, doing a floor routine), and the pinkie is the bronze medal (whichever martial art you like).

For the base colors (left to right), I used Color Club Fashion Addict, Revlon Gold Coin, Pure Ice Silver Mercedes, and Revlon Copper Penny. I painted the ribbons using a-England Avalon (which is AMAZING, btw), and stamped the figures with Color Club Revvvolution in the hopes it would look metallic-y. It did, in the sun, but the other metallics were so shiny I couldn't get a good shot, lol. I used  Red Angel plate RA-113 and plate QA22 for the stamping

So there is my interpretation of olympic medals...Hope you like them.

Also, after midnight tonight, I will be choosing the winner of my 100 follower challenge--stay tuned!

Thanks for looking, and please check out the other ladies in the challenge, linked below via thumbnails. :)

M.

Sunday, July 8, 2012

Review: QA series 15, 21, 22, 26, 30

Hello!!

Today I have a fast review for you of five plates from the QA series. I took pictures of them with the protective blue film on in order to minimize the glare; if you'd like me to post pictures of them naked (eeek!) just let me know. Here are the 5 I chose; it seems like most people who sell them (on eBay, where I got mine) let you buy them individually or choose sets of 5 or 10 for cheaper prices:


QA15: Kitties FTW!

QA21

QA22

QA26

QA30
The series has a lot of unique images unlike any I've seen anywhere else; the most obvious case of that is QA30, with the military-esque bars and the sign-symbols. This is what drew me to these plates, but I was afraid that the quality was not good.

So far I've tried three of these plates myself, and have seen a member of one of my stamping groups use the two others. In my case I've used QA26, QA30, and QA15 (you can see two of these plates used in the manicure I posted just before this one). While the plates are not the most detailed--they don't have the finely etched images of Konads, for example--they are well-made, and stamp without a fuss. I had some user error, but nothing that was the fault of the plates, and that was with a range of different quality stamping polishes. The other two also seemed to work very well on my group-mates manicure; she created an amazing Asian-themed manicure using them. Mine were not sharp, so I didn't have any difficulty in that respect. These are not top-of-the-line, but they get the job done.

My conclusion is that if you find images among the QA series that you like, I'd say these are worth getting in the group deals; if you can't find enough you like, you might want to skip them. You should be able to find them for around $2 each on eBay.

And if anyone can tell me what the image is on the bottom right of QA30, I'd be eternally grateful. :)

Thanks for taking a look!

M.

(these products were provided to me; however, this does not impact my opinions, which are honest and my own.)

NOTD: A Few of My Favorite Things :)

Hello!!

Today's challenge in my Adventures In Stamping group is to do a manicure of something I love. Three of my favorite things in my life are my darling, destructive, adorable, evil, sweet, devil-spawn kitties. Ever since the day I got them at just a few weeks old, they have shown an amazing capacity for destroying things I didn't even know I owned. I have owned cats for my whole life, and I've never before had one that shredded a mattress and pulled out the stuffing. While I was sleeping on it, no less.

Lucky for them, they are also the sweetest cats I've ever known. They always want to cuddle, and they love to play. One of them regularly looks at me adoringly, reaches up, and gives my nose a gentle bite. Even when you catch them doing something horrible, they look up at you with these amazing 'Momma, I adore you!' looks. Let me assure you, this is a great survival advantage that they desperately need to balance out the evil.

To capture the spirit of my little demons darlings, I created this manicure:


The one on the left is my crazy play kitty. The gray one is my ninja attack kitty. And the one on the right is the sweetest cuddler of the bunch, most of the time...his nickname is 'Spider-Cat' because he likes to pretend he can climb furniture and walls. Note they all have comic 'pow' bubbles around them representing all of the things they have broken. :)

To make the manicure, I used a beige base polish and stamped using Wet n Wild Ebony Hates Chris, Sally Hansen Instra-Dry Gone Grey, and Konad Red; I used plates QA15 and QA30; I will review these later today (I've been waiting to do that until I could try them out).

To make the yellow 'pow' bubbles, I used a mystery product that I'm currently testing out...I'll review it shortly. This is one of my first attempts to use it...Toys are fun...hee hee hee.

I know this doesn't fall into the 'beautiful' category of nail art, but I hope it made you smile.

Thanks for reading!

M.