Showing posts with label splodge. Show all posts

Monday, August 25, 2014

NOTD: Art Deco skittle with Incoco Modern Muse

(Incoco Nail Appliques sent for review.)

Hello!

I don't know about you, but today I feel jazzy. And colorful. And happy. And I need a mani that reflects that.

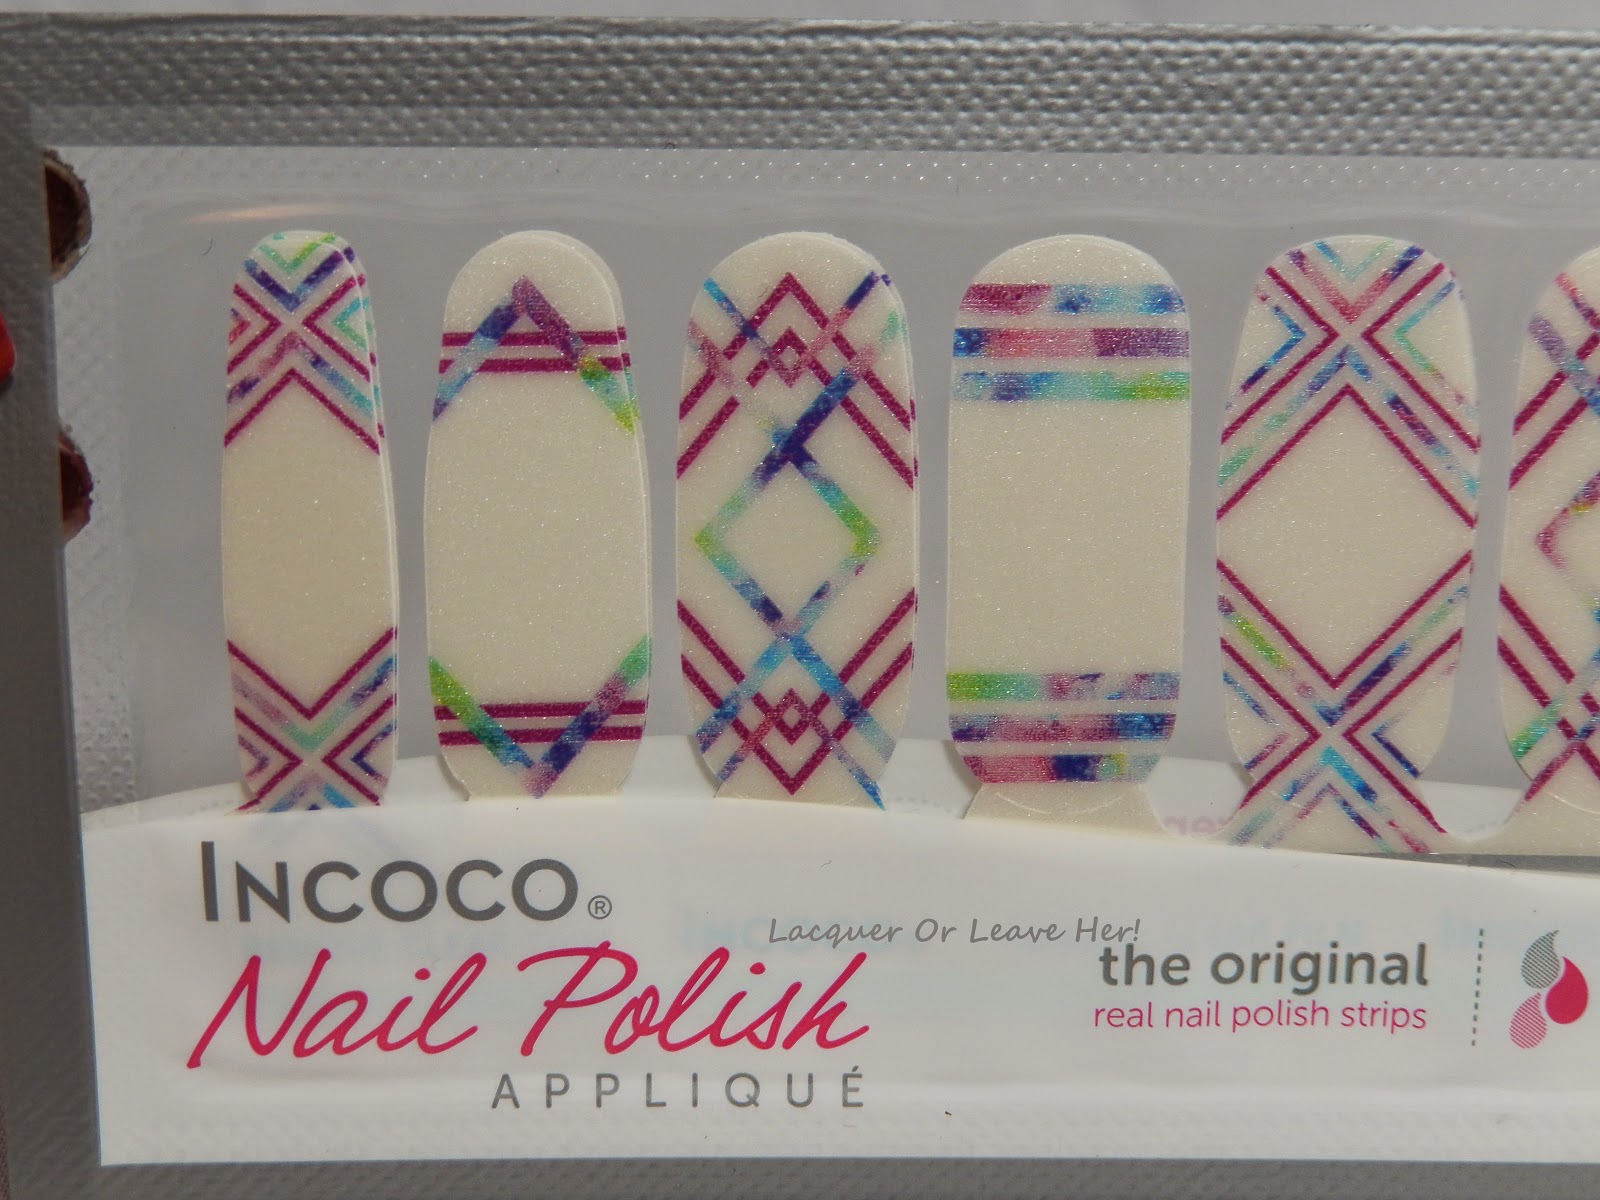
I have these awesome Incoco nail appliques they sent me for review, Modern Muse:


Incoco Modern Muse
Incoco Modern Muse

Incoco Modern Muse
Incoco Modern Muse


These remind me of beautiful nail-tape manis, the kind where you make designs with nail striping tape, paint over the tape, and pull the tape off to reveal the color underneath--but these are no hassle and no mess. And, the colors are vibrant and beautiful. So if you like the look of those manis but don't want the hassle of doing it yourself, check these out--they're gorgeous.

But you know I can't leave well enough alone. I have to play, and be all nail-arty...and these just called to me with their beautiful colors and elegant striping...so I decided to do a skittle manicure with two nails that were a sort of an opposite of the design--with white as the stripes, and the colors as the background. Here is what I came up with:


incoco modern muse zoya  muse zoya arlo
Modern Deco Muse

incoco modern muse zoya muse zoya arlo

incoco modern muse zoya muse zoya arlo
Add caption

incoco modern muse zoya muse zoya arlo
Add caption

Here's what I did:

1) I used Julep Soraphine as my base; it's a barely-there white jelly with a touch of shimmer to it.
2) I used striping tape to create designs that complemented those on the nail strips.
3) I chose my gradent colors; I wanted to pull from the colors on the nail strips, and I wanted to throw in a little bling. So I picked Zoya Muse (total coincidence on the name!) for my blue, which is a textured glitter; Zoya Arlo for my purple, also a textured glitter; and China Glaze Shore Enough for my green.
4) I sponged each color individually on the nail for control, and to get controlled overlap; I did a horizontal gradient on the ring finger, and more of a splodge look on the pinkie.

So what do you think? I love the way the glitter adds flash, and I love how the nail wraps and the nail art work together.

You can find their Metropolis Summer collection by clicking here, and don't forget to look around at their other awesome wraps, they have tons of fun designs.

Hugs!
M.

Wednesday, May 28, 2014

Before & After: Splodgy Binx

Hello!

Today I'm moving away from skittles, and turning to splodges. I've loved the splodge look since I first saw it on The Crumpet, and I love it best with a word pattern over it. But I'm getting ahead of myself. :)

First, let's look at the base, Zoya Binx; this is one of the new 'holo glitters' from their Summer 2014 Tickled & Bubbly collection:

Zoya Binx
Zoya Binx

Zoya Binx
Zoya Binx

Zoya Binx
Zoya Binx

I have very mixed feelings about this polish. It's pretty for what it is, but I don't feel it's really what was advertised. It's a little more pink and a little less orchid than I expected it to be (their site actually says 'orchic', which I assumed was a typo, but maybe it's just a more pink form of orchid, lol :P ). Also, I found myself really underwhelmed with respect to the 'holo' aspect--I really didn't see any holo to speak of. It's shiny, for sure, but I didn't get any linear or scattered holo, unfortunately.

That said, I do love the mix of coral-gold glitter, blue-purple glitter, and pink. It's very visually appealing, and even though I'm not a pink lover, it's something I'll wear again because of the visual complexity. Also, I was very pleased that removal was fast and easy, despite the glitter. :)

To pick my splodge colors, I pulled out the colors in the polish itself. I used Sally Hansen Going Grape!, which is a blue-purple iridescent shimmer, and Orange Impulse, and orange creme that leans coralish. Then I stamped over the whole thing with Pueen 50 using Barry M Gold Foil:

Pueen 50
Splodgy Binx

Pueen 50
Splodgy Binx

I think this is a good example of how you can use different part of large images or collage-style plates to get a different look on each nail; take a look at the original image on the plate:


I love looks that have a random feel, and splodge is the queen of that! Hope you like it, and I hope your week is going well. :)

M.