Saturday, August 30, 2014

Labor Day Skittle

Hello!

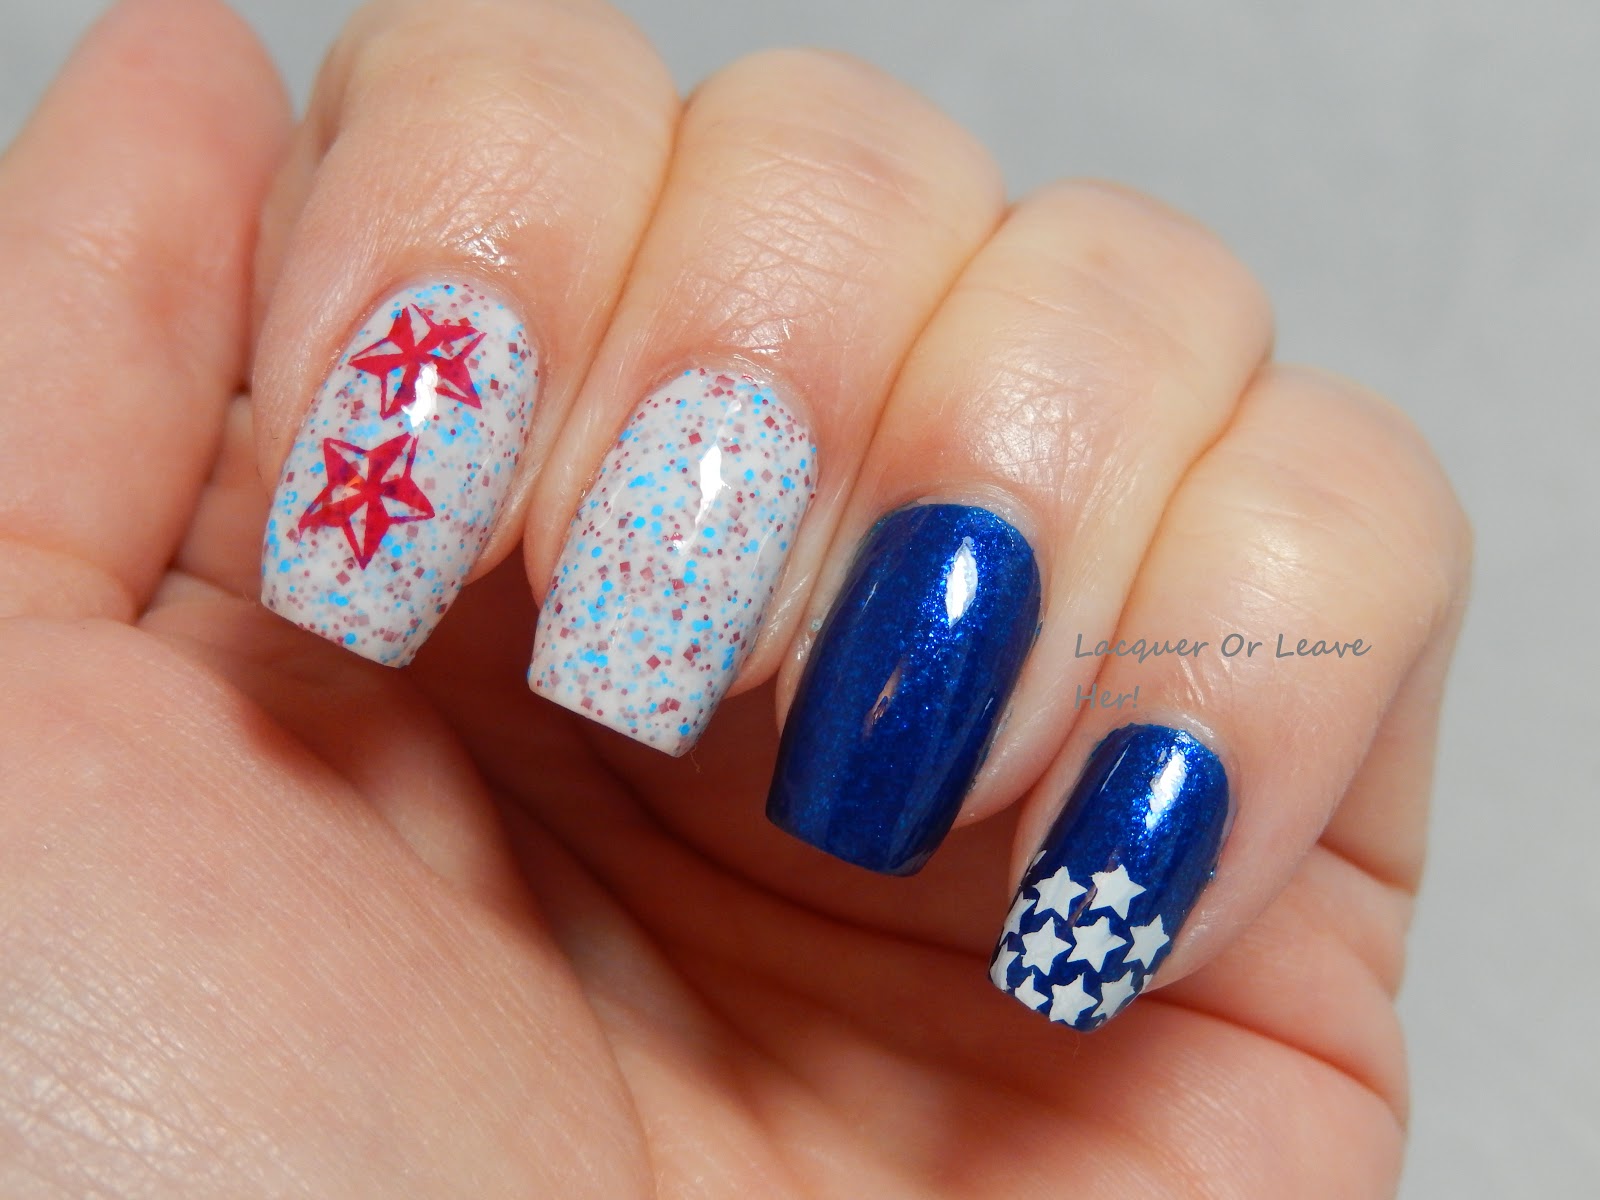
Okay, Labor Day isn't really a patriotic holiday, per se. But for some reason I was in a red-white-and-blue mood, so that's what I did:


Patriotic skittle
Patriotic skittle

Patriotic skittle
Patriotic skittle


The index and middle finger are a custom polish made for me by InDecisive Nail Lacquer, called Patriotic; it's a blend of neon blue and red glitters in a milky base. On the ring finger I stamped with Bundle Monster 206.

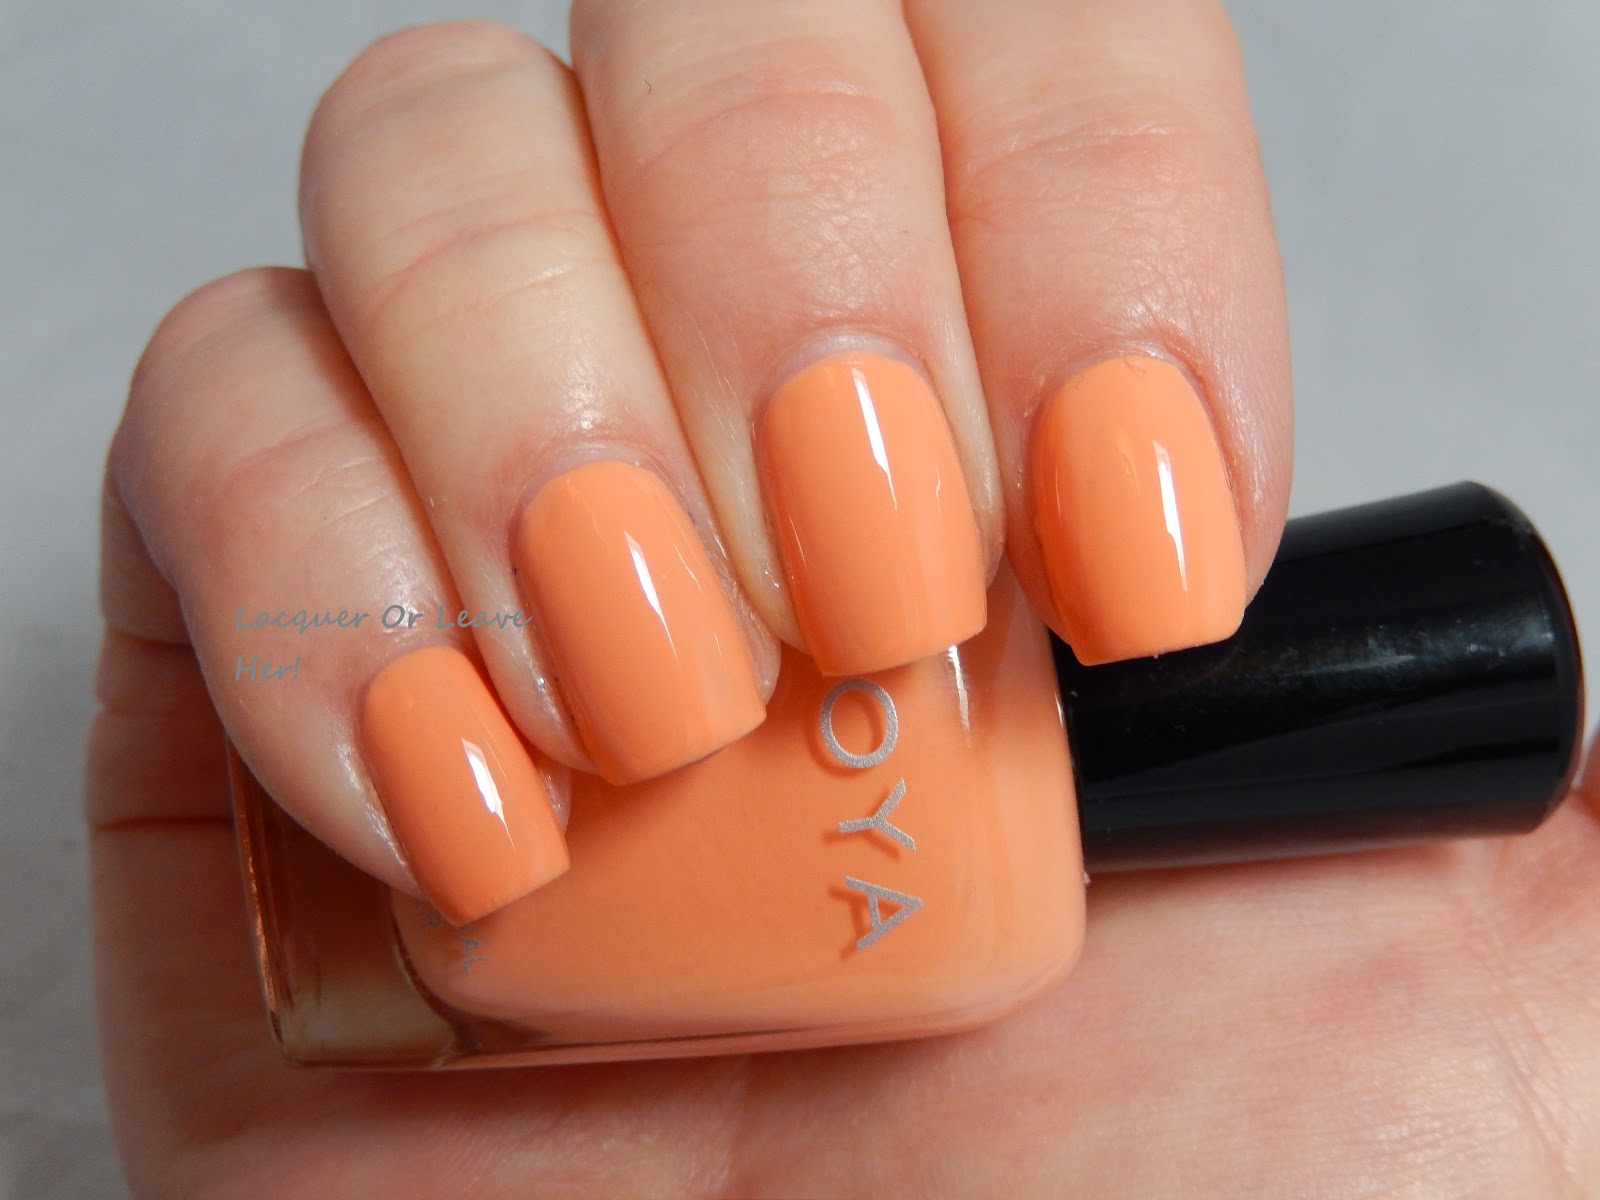
The ring and pinkie are Zoya Song; I stamped on the pinkie with Konad White, using Bundle Monster plate H25.

I hope you all have a wonderful holiday weekend! :)
M.

Monday, August 25, 2014

NOTD: Art Deco skittle with Incoco Modern Muse

(Incoco Nail Appliques sent for review.)

Hello!

I don't know about you, but today I feel jazzy. And colorful. And happy. And I need a mani that reflects that.

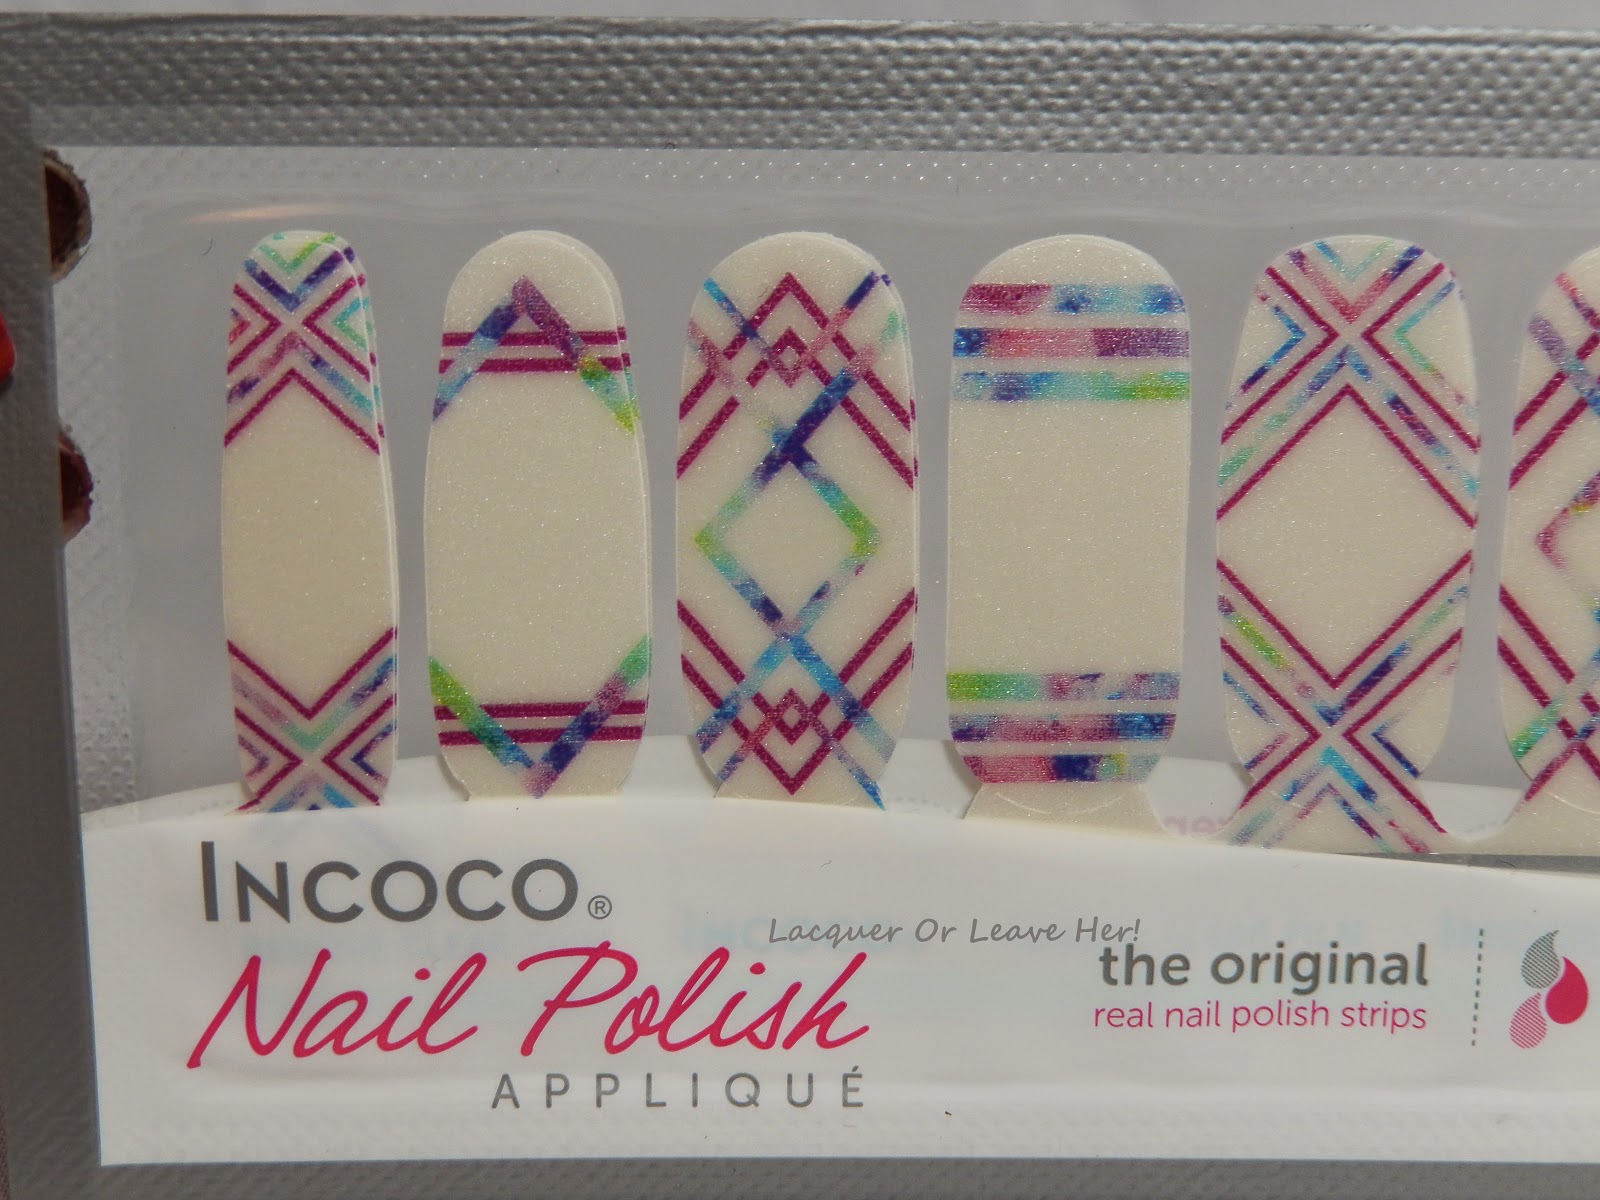
I have these awesome Incoco nail appliques they sent me for review, Modern Muse:


Incoco Modern Muse
Incoco Modern Muse

Incoco Modern Muse
Incoco Modern Muse


These remind me of beautiful nail-tape manis, the kind where you make designs with nail striping tape, paint over the tape, and pull the tape off to reveal the color underneath--but these are no hassle and no mess. And, the colors are vibrant and beautiful. So if you like the look of those manis but don't want the hassle of doing it yourself, check these out--they're gorgeous.

But you know I can't leave well enough alone. I have to play, and be all nail-arty...and these just called to me with their beautiful colors and elegant striping...so I decided to do a skittle manicure with two nails that were a sort of an opposite of the design--with white as the stripes, and the colors as the background. Here is what I came up with:


incoco modern muse zoya  muse zoya arlo
Modern Deco Muse

incoco modern muse zoya muse zoya arlo

incoco modern muse zoya muse zoya arlo
Add caption

incoco modern muse zoya muse zoya arlo
Add caption

Here's what I did:

1) I used Julep Soraphine as my base; it's a barely-there white jelly with a touch of shimmer to it.
2) I used striping tape to create designs that complemented those on the nail strips.
3) I chose my gradent colors; I wanted to pull from the colors on the nail strips, and I wanted to throw in a little bling. So I picked Zoya Muse (total coincidence on the name!) for my blue, which is a textured glitter; Zoya Arlo for my purple, also a textured glitter; and China Glaze Shore Enough for my green.
4) I sponged each color individually on the nail for control, and to get controlled overlap; I did a horizontal gradient on the ring finger, and more of a splodge look on the pinkie.

So what do you think? I love the way the glitter adds flash, and I love how the nail wraps and the nail art work together.

You can find their Metropolis Summer collection by clicking here, and don't forget to look around at their other awesome wraps, they have tons of fun designs.

Hugs!
M.

Tuesday, August 19, 2014

Swatch Spam, baby!

(Nothing to disclose)

Hello!

Yes, it's that time again--time to clean out the vault of all the swatches that haven't yet made it to prime time, for one reason or another. So sit back, grab your coffee, and enjoy a stroll through a bevy of bold beauties. :)


China Glaze Brownstone

China Glaze Brownstone

China Glaze Brownstone

China Glaze Starboard

China Glaze Starboard

China Glaze Starboard

China Glaze VIII


China Glaze VIII
China Glaze VIII

China Glaze VIII
China Glaze VIII


Color Club Revvvolution


Color Club Revvvolution

Color Club Revvvolution

Color Club Revvvolution

Julep Joanna


Julep Joanna
Julep Joanna

Julep Joanna
Julep Joanna

Julep Joanna
Julep Joanna


Zoya Cole

Zoya Cole
Zoya Cole

Zoya Cole
Zoya Cole

Zoya Cole
Zoya Cole


Zoya Demi

Zoya Demi
Zoya Demi

Zoya Demi
Zoya Demi

Zoya Demi
Zoya Demi


Zoya Stassi


Zoya Stassi
Zoya Stassi

Zoya Stassi
Zoya Stassi

Zoya Stassi
Zoya Stassi


So...See anything you like? ;-)

Hugs,
M.

Saturday, August 16, 2014

Review: MoYou London Sci-Fi Collection Plate 07

(Nothing to disclose)

Hello!!

Yes, I'm back again with another nail plate review...this time it's MoYou London Sci-Fi collection plate 07! I wasn't really into the first Sci-Fi plates they came out with, so I was totally stoked when I saw these.

First, of course, here is my video review:


And here's the still shots:

MoYou London Sci-Fi Collection Plate 07

MoYou London Sci-Fi Collection Plate 07


MoYou London Sci-Fi Collection Plate 07

MoYou London Sci-Fi Collection Plate 07

This plate isn't quite a normal plate, and it isn't quite one of their collage-style plates, either; it's a combination that has a lot of single images, and a little bit of broader patterned areas. So my recommendations for using this plate are to:

1) Use for single images.
The single images here are great for spaceships, planets, funky hot-air ballons, lightning bolts and star bursts, even ray guns. :)

2) Use larger areas for full-nail images.

There are at least five areas here that you should be able to use if you have medium nails, and two, possibly three, more if you have smaller nails:


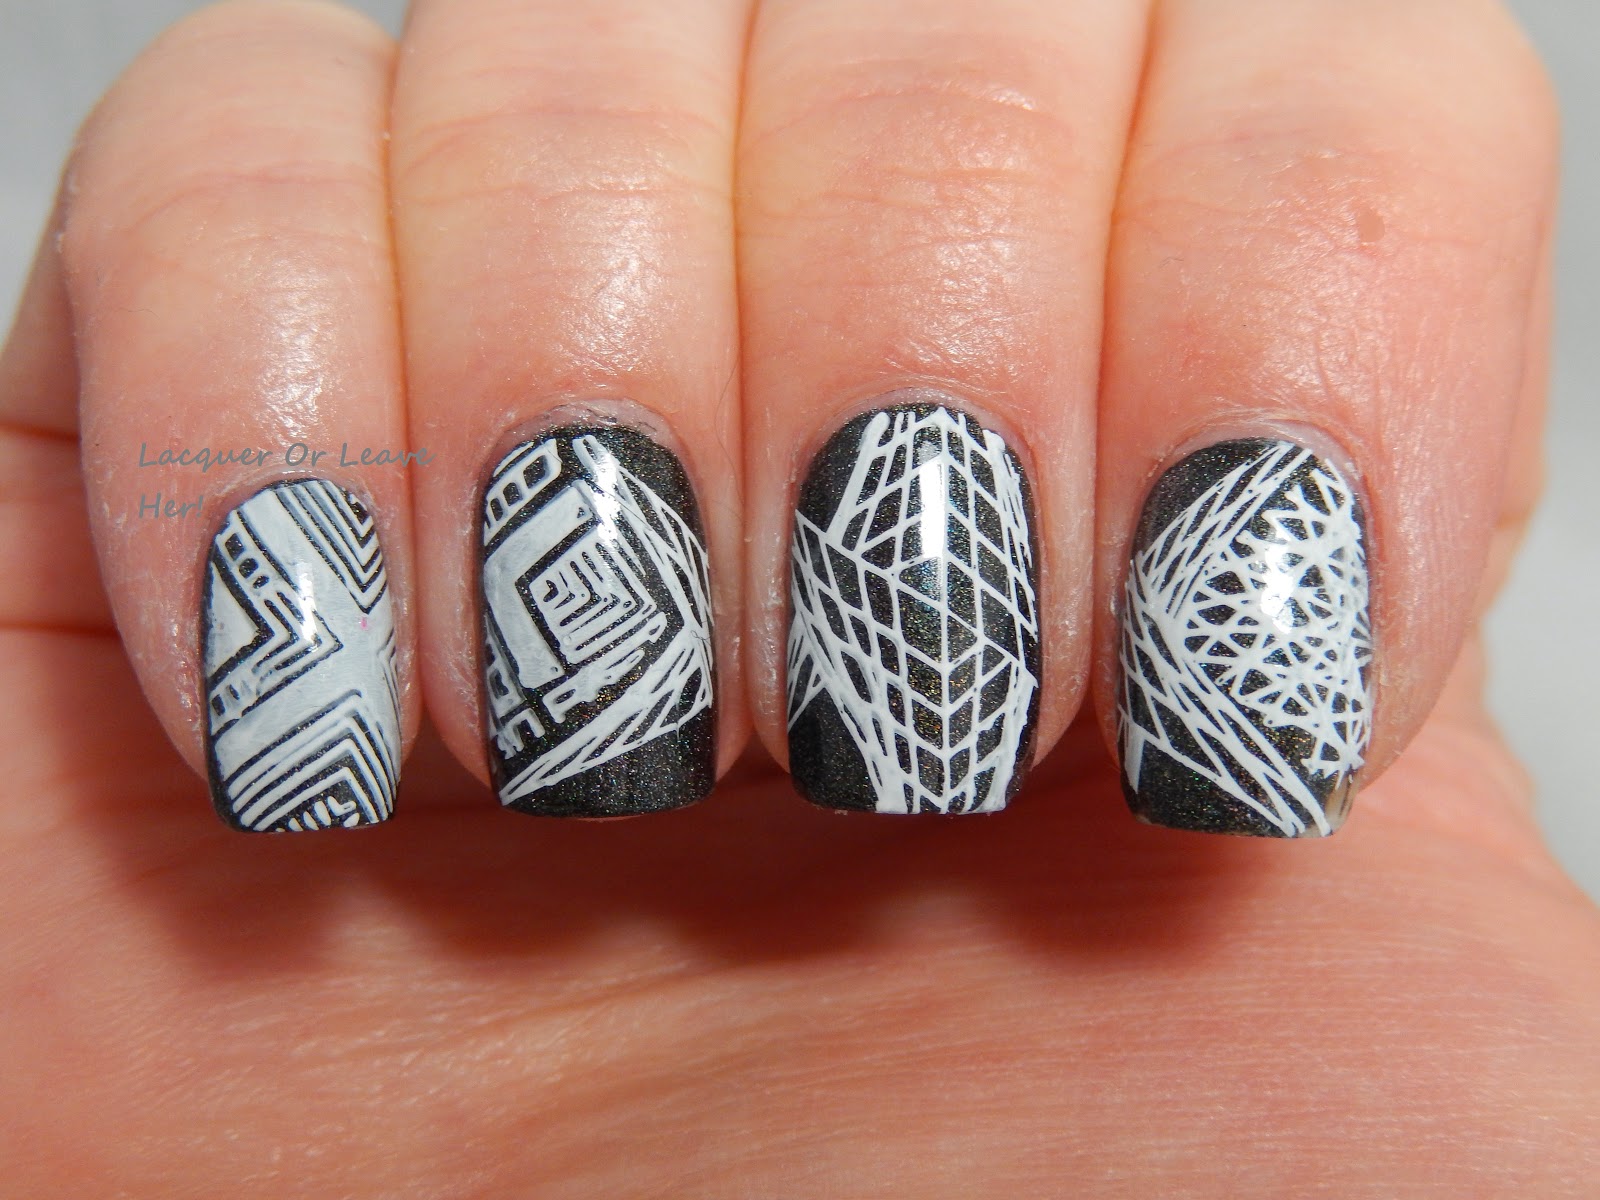
Here is a mani I did using the patterns on that cool nexus ribbon in the center:


MoYou London Sci-Fi Collection Plate 07
Don't get sucked into the Nexus!!

MoYou London Sci-Fi Collection Plate 07


3) Build-a-scene! 

Instead of using the single images just willy-nilly, why not build a scene with them? Tell a story with your nails, baby! This is what I'm going to show you today. Recently we had Comicon here in California; it's way too far away for me to go, but I wanted to honor it in spirit with today's before-and-after.

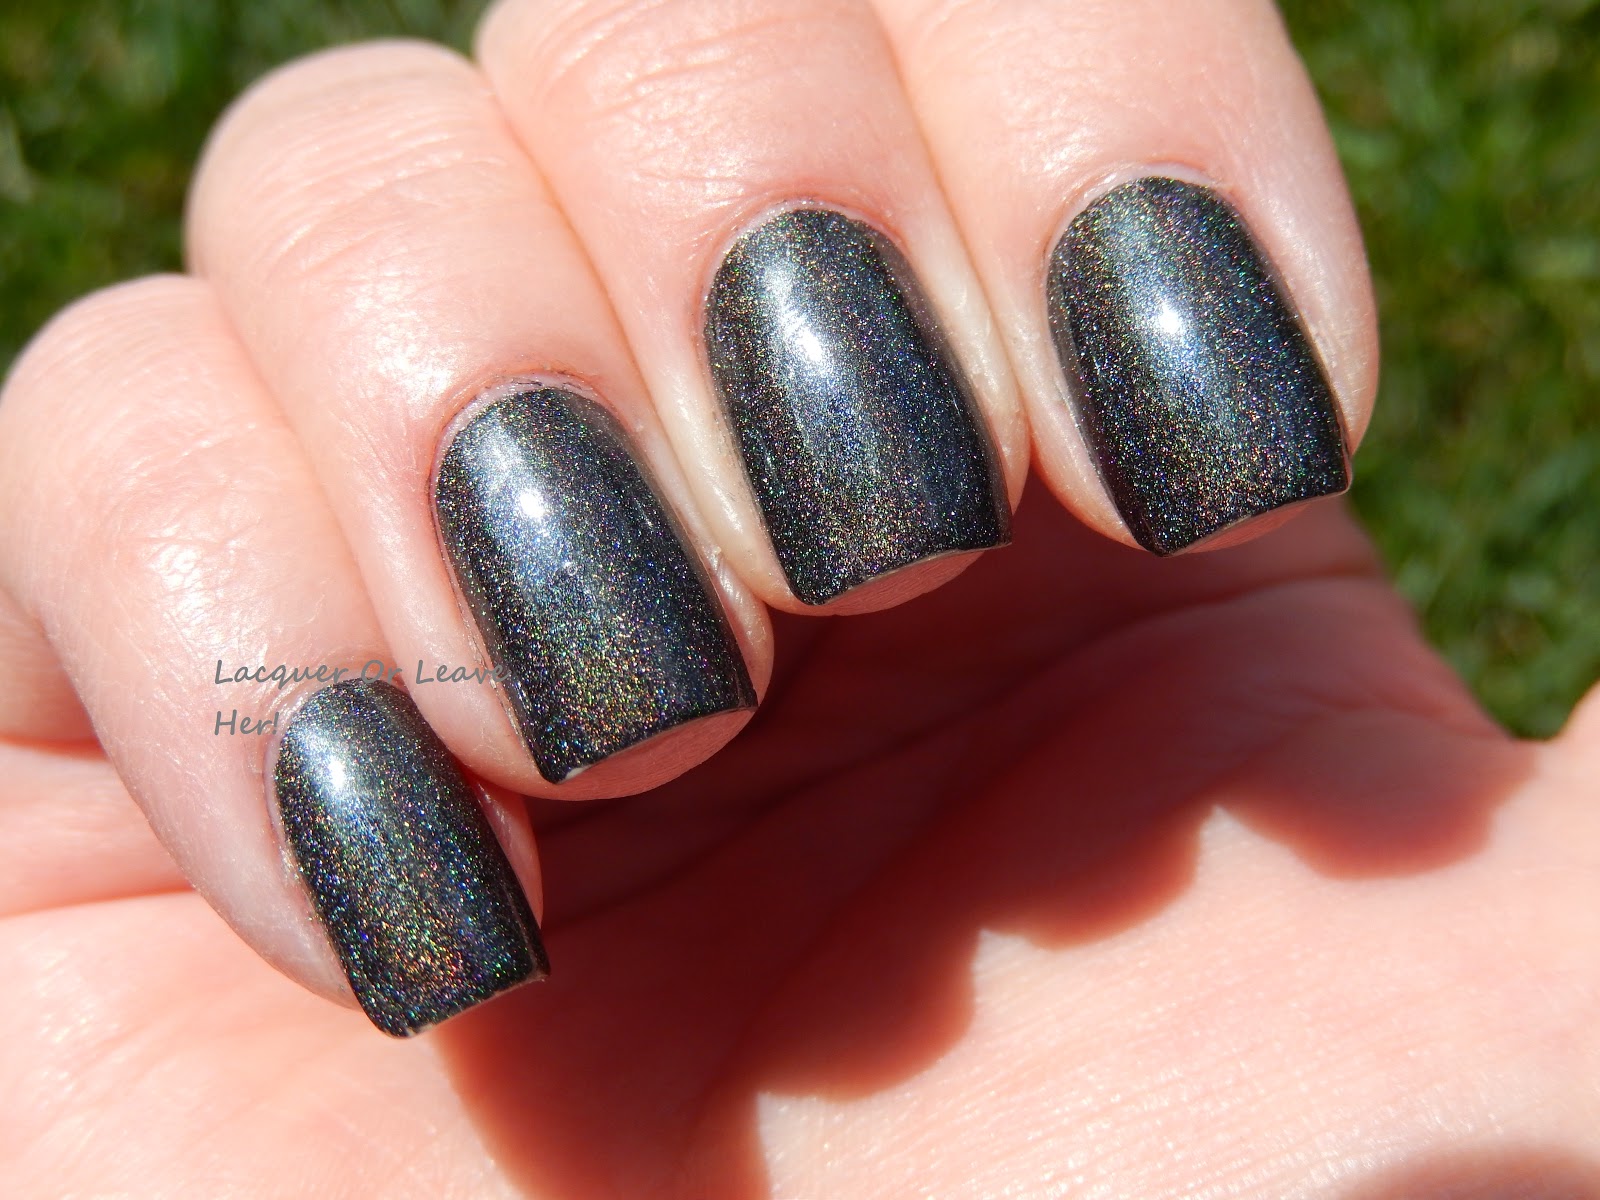
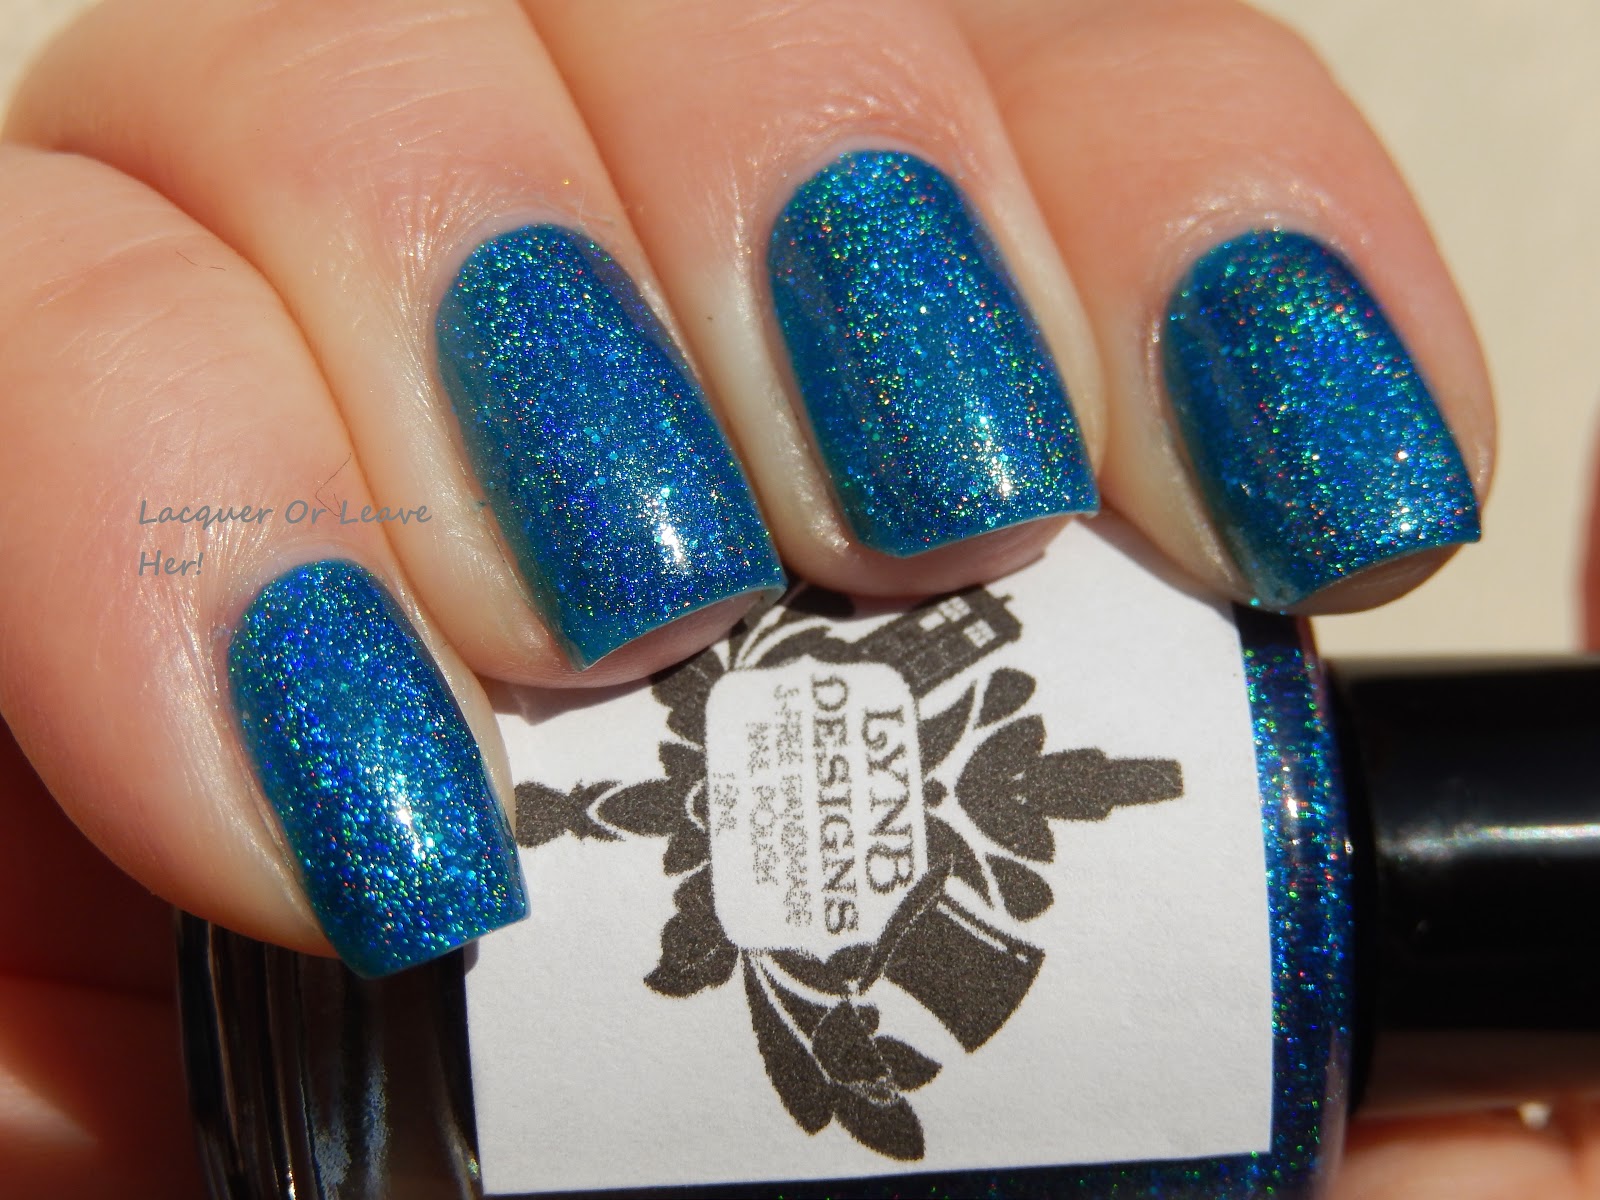
I started with an stunning blue holographic jelly that also contains--wait for it--a spray of glitter! I give you LynBDesigns Absolutely Absolem:


LynBDesigns Absolutely Absolem

LynBDesigns Absolutely Absolem

LynBDesigns Absolutely Absolem

 
LynBDesigns Absolutely Absolem

How gorgeous is that holo?! You can see the glitter better in the shade shots, below.

For my outer-space design, I stamped with Sally Hansen Silver Sweep, and I topped it off with two blue rhinestones on my laser gun fire:


Pew pew pew!!

Pew Pew Pew!!

You can see that the intricate designs stamp well. And I love the way the glitter looks in this polish, just an extra bit of special!

So what do you think about this plate?

Hugs,
M.

Wednesday, August 13, 2014

NOTD: Julep Winter & Myriam

Hello!!

I'm in the mood for something feminine and flirty today...so I'm going to show you a gradient nail of the day that has a soft, lacy feel to it. :)

One of the nail-art looks I love best is a gradient with stamping that looks like it comes out of one color in the gradient. I've found it much harder than it looks, strangely enough! But I'm pretty happy with how this one came out.

For this look, I used Julep Winter (and almost-white light gray creme) and Julep Myriam (a neon-y red crelly). The I stamped over the red portion with Winter, using Pueen 73:


Julep Winter and Myriam with Pueen 73

Julep Winter and Myriam with Pueen 73

Julep Winter and Myriam with Pueen 73


So what do you think? I never thought that gray and red would make a good gradient, but sometimes I can't help myself and I just do crazy things...>.>

Hugs and loves!
M.


Sunday, August 10, 2014

The Perfect Barielle Manicure...Plus GIVEAWAY!

(Press Sample)

Hello everybody!

I have something extra cool to share with you today. Barielle recently asked me if I'd like to review products for a perfect Barielle manicure, and if so, they'd sponsor a giveaway of the products for my readers!

Of course I said yes. :)

So first I'm gonna walk you through some products that I think will make your manicure perfect, and then I'll talk about the giveaway. There maybe might be a little dash of nail art, too...


Step 1: Get rid of those cuticles!

You can't have a gorgeous manicure if you've got icky straggly cuticles ruining the look. So for this one, I reviewed Barielle's Extra Gentle Cuticle Minimizer:

Barielle Extra Gentle Cuticle Minimizer

The instructions said to leave this on for 2-3 minutes, applied to the cuticles, and then remove with the included orange stick. I followed the instructions, and found that the product was gentle and effective. My cuticles get pretty ragged, so for a product to be gentle but also still effective on my cuticles is a pretty tall order. Take a look at the pictures below to see what you think about the job it did--I was very happy with the results. :)


Step 2: Base coat!

For this step I reviewed Barielle's Nail Rebuilding Protein. This product is a personal Holy Grail product for me--I've been using it for about 9 months now, and I'll never use another base polish again. It's actually a protein rebuilder for damaged nails first, and a base coat second, which means it's meant as a nail treatment, and functions as a base coat.

Barielle Nail Rebuilding Protein


This product has transformed my peeling piles of hot mess to smooth, strong nails. I was able to tell a difference from the first time I used it, and when I've stopped using it for some reason, my nails will start showing damage again within days. Here's a shot of my old bottle, that I've been struggle to get the dregs out of, to show you just how much I love it: 


I need a new bottle! ::grabby paws::

I even forgo any sort of special glitter base and just use this under glitter; I remove with the foil method and it's worth it because this minimizes my damage.


Step 3: Polish, baby!

Now we're ready for our polish, the undeniable core of any awesome manicure. For the 'perfect' manicure, I wanted to pick something that can take you from work to evening, and even to a fun weekend. I chose Daring Dahlia, a fuchsia polish with a sweet pink-purple shimmer:


Barielle Daring Dahlia

Barielle Daring Dahlia

Barielle Daring Dahlia

Barielle Daring Dahlia

Barielle Daring Dahlia

I love the versatility of this color. It's sassy and fun, and the shimmer gives it enough dimension that it looks special--like the color variations in a real flower. This is the sort of basic every girl needs, but that feels way more special than a basic. :)


Step 4: Top coat!

I am an impatient wee beastie, and a clumsy one, so I don't like to have to wait any longer than necessary for my polish to dry. For ages I've used Seche Vite as my topcoat, but it's not three-free, so I've been on a continual lookout for a fast-drying topcoat that is three-free and actually works. So for this step, I reviewed Barielle's Ultra Speed Dry Manicure Extender, which is a quick-drying topcoat. 


The instructions for this say to wait until your polish is completely dry before applying. No way was that going to happen; I normally wait about a minute before putting on my topcoat, sometimes a little more. So what I did here was wait about 2-3 minutes before applying the topcoat, then I let the topcoat sit for another 2-3 minutes before I started to interact with the world. That method worked just fine for me; I didn't get any dings or smudges, and the finish was very shiny (as you can see above). I went to bed about 2 hours later, and didn't have any sheet marks in the morning. I will definitely use this, and recommend it as a three-free topcoat.


Step 5: Staying healthy & pretty. :)

The last product is Barielle's Intensive Nail Renewal Oil. I like to apply oil or balm 2-3 times a day; I'll use oil particularly at night before I go to bed.


I found this to be an effective oil that absorbed relatively quickly and did a very good job. Also, it has a very light scent, almost no scent at all, so it doesn't compete with any other scents you're wearing and shouldn't bother you. :)


So there you have all the products for my perfect Barielle manicure! And because Barielle is so awesome, they are sponsoring a giveaway of all of the five products that I selected above. So the prize includes the following 5 items: 

One Extra Gentle Cuticle Minimizer
One Nail Rebuilding Protein
One Barielle Daring Dahlia
One Barielle Ultra Speed Dry Manicure Extender
One Barielle Intensive Nail Renewal Oil


For you chance to win these, please enter the rafflecopter widget below. This is a Unites States only because of shipping restrictions. 

a Rafflecopter giveaway


Hmm...I feel like there was something else I wanted to share with you...what was it...Oh! Of course!

No perfect manicure on this blog is complete without a little touch of nail art. I wanted to keep this simple in accord with the theme of the perfect manicure--this is something you can do in a quick minute because you don't even have to worry about stamping it straight:


Daring Dahlia with darling daisies

To do this, I used Konad Special White stamping polish and Pueen plate 31 (these products are not included in the giveaway, only the Barielle products.). Because it's a single accent nail and it's a pattern that doesn't need to be straight, you can throw this on in a minute and be out the door to that awesome picnic you're having with your family and friends. :)

You can find all of these products on the Barielle website, and because August is healthy nail month, they have a special sale going on right now--all threatments are under $10 and all nail colors are $4 through the end of the month. Check it out!


I hope you all had a wonderful weekend!!
M.